Grid Ceiling Installation Process
Preliminary Work: Clear the area below where you'll be working, and cover furniture and floors with drop cloths or plastic sheets to protect them from dust and debris.
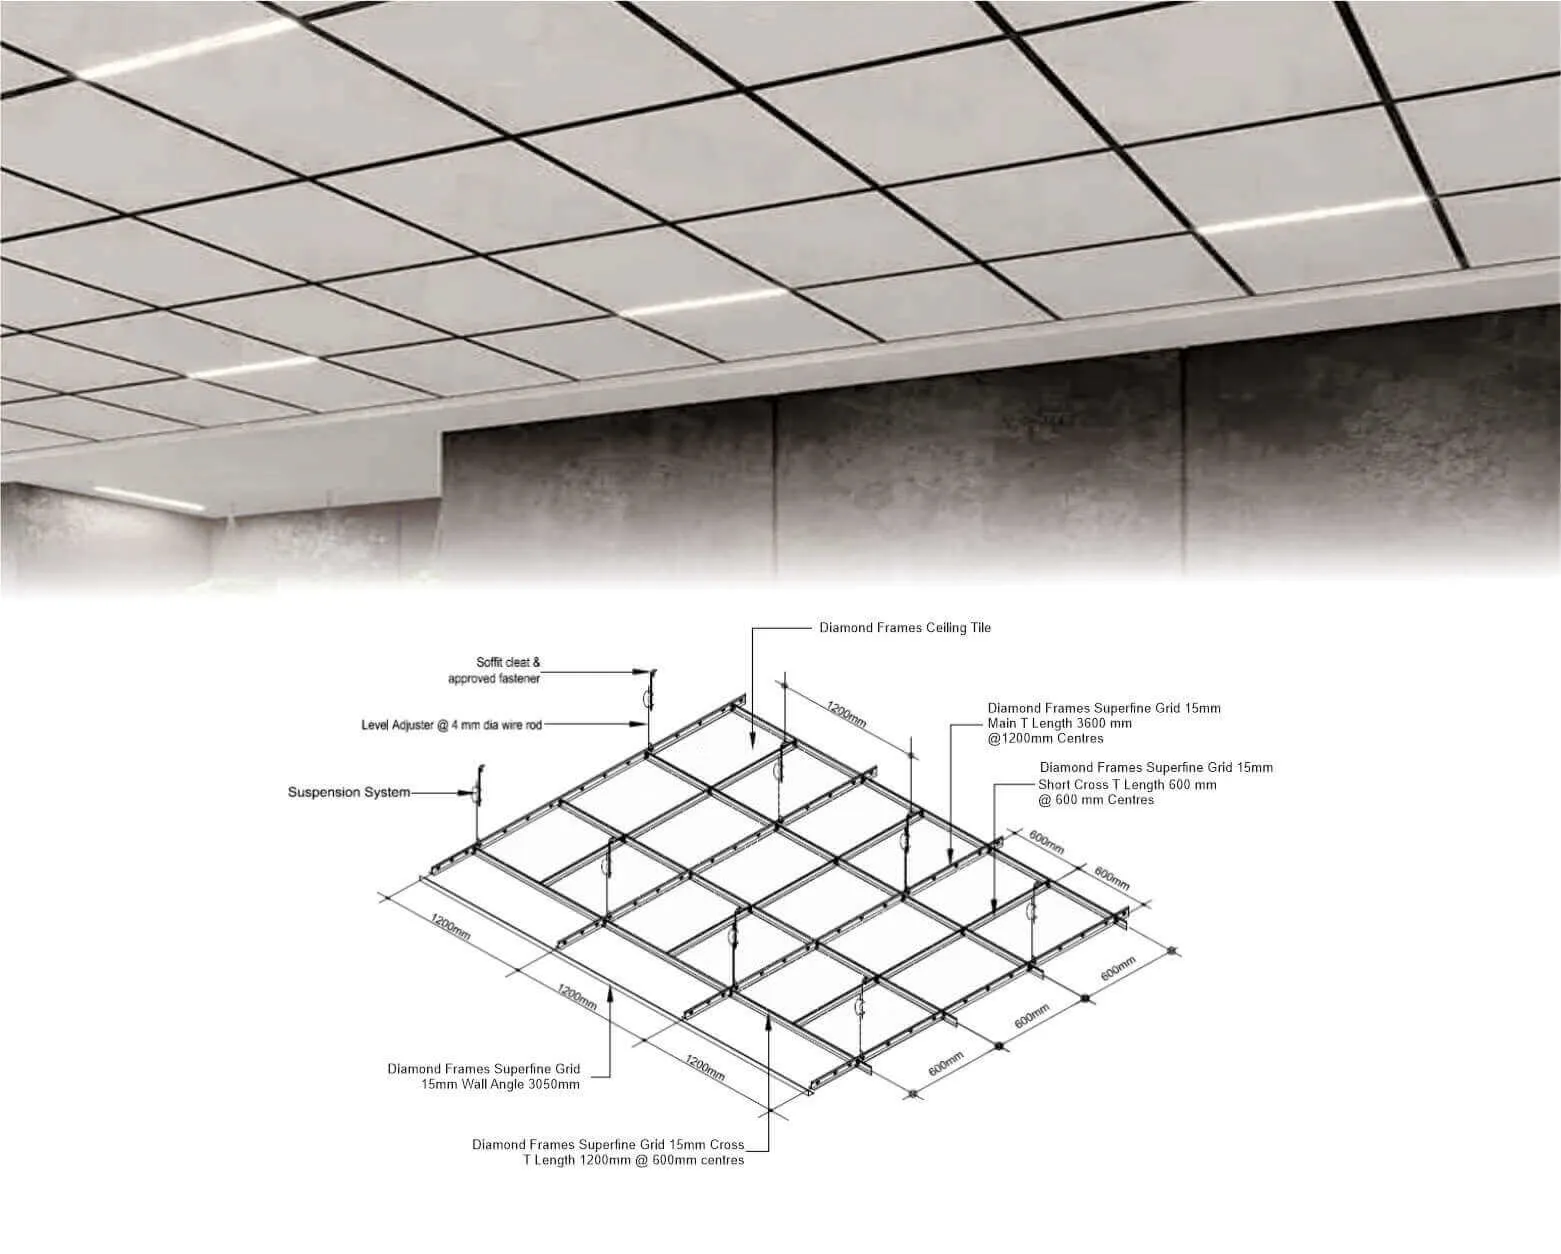
Measure and mark: Use a Measurement Tape to determine the dimensions of the ceiling and plan the layout of the grid system. Mark the locations where the grid system will be installed on the walls, ensuring the lines are level and straight.
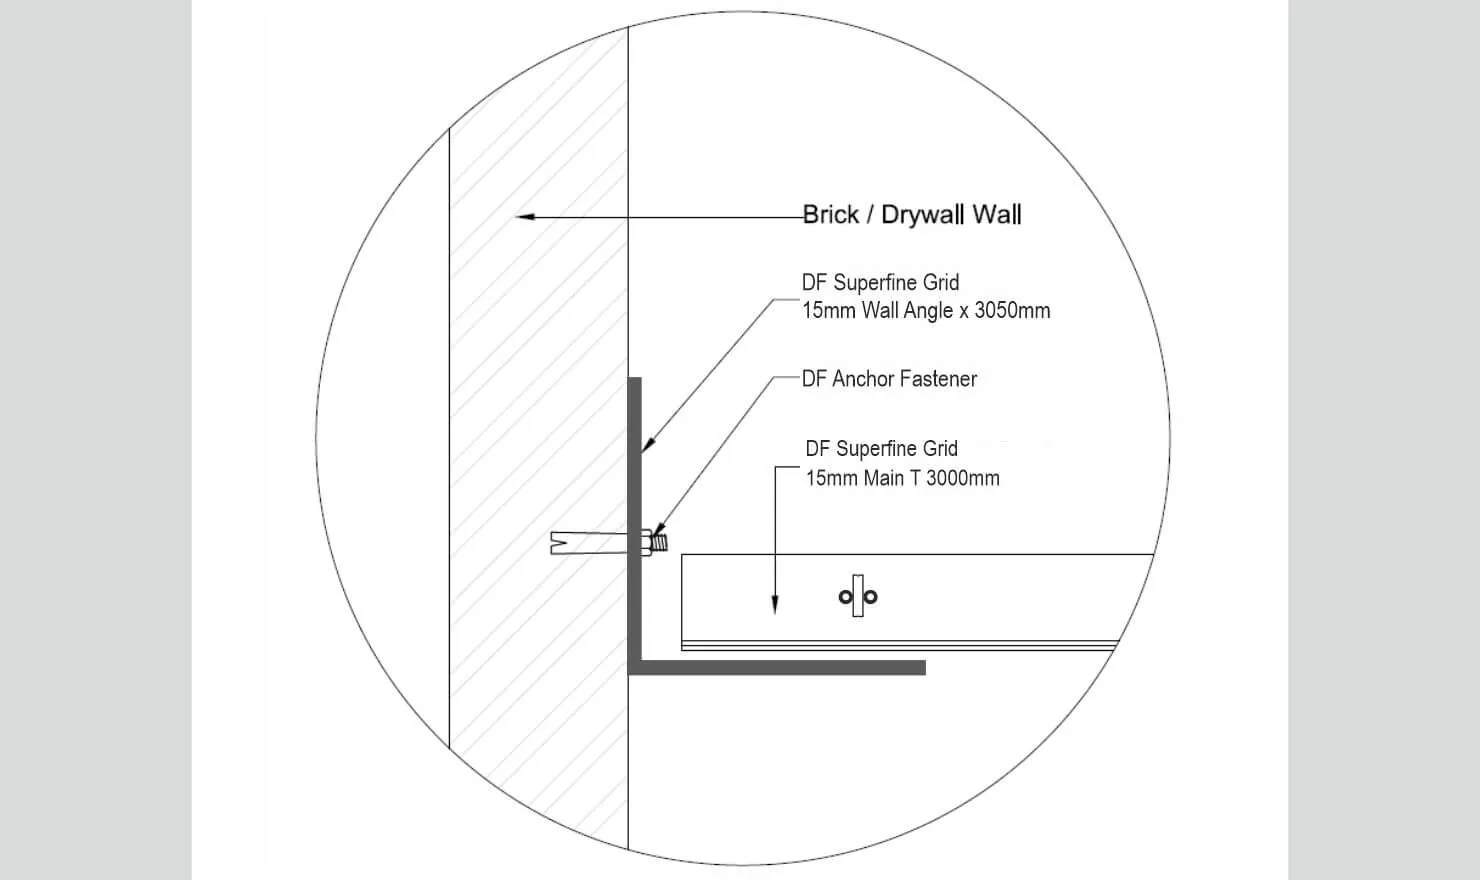
Install the Wall Angles: Attach the metal wall angles to the walls using Screws. The Wall Angles should be aligned with the marked lines and securely fastened.
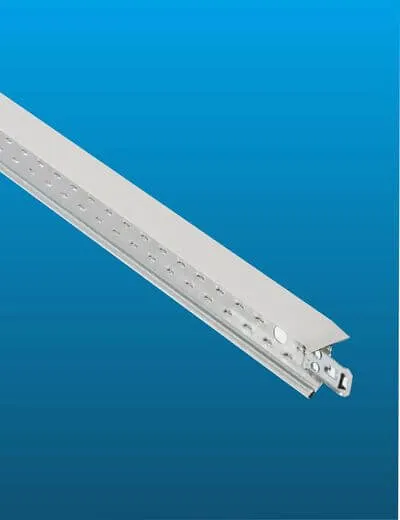
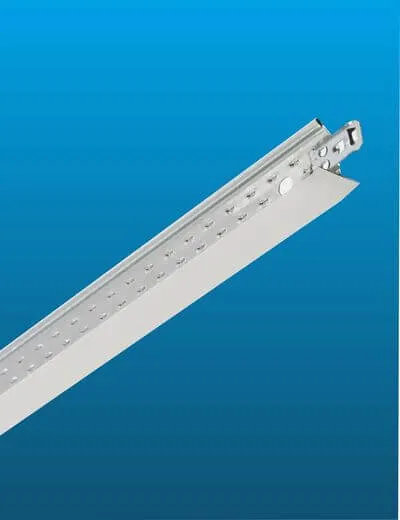
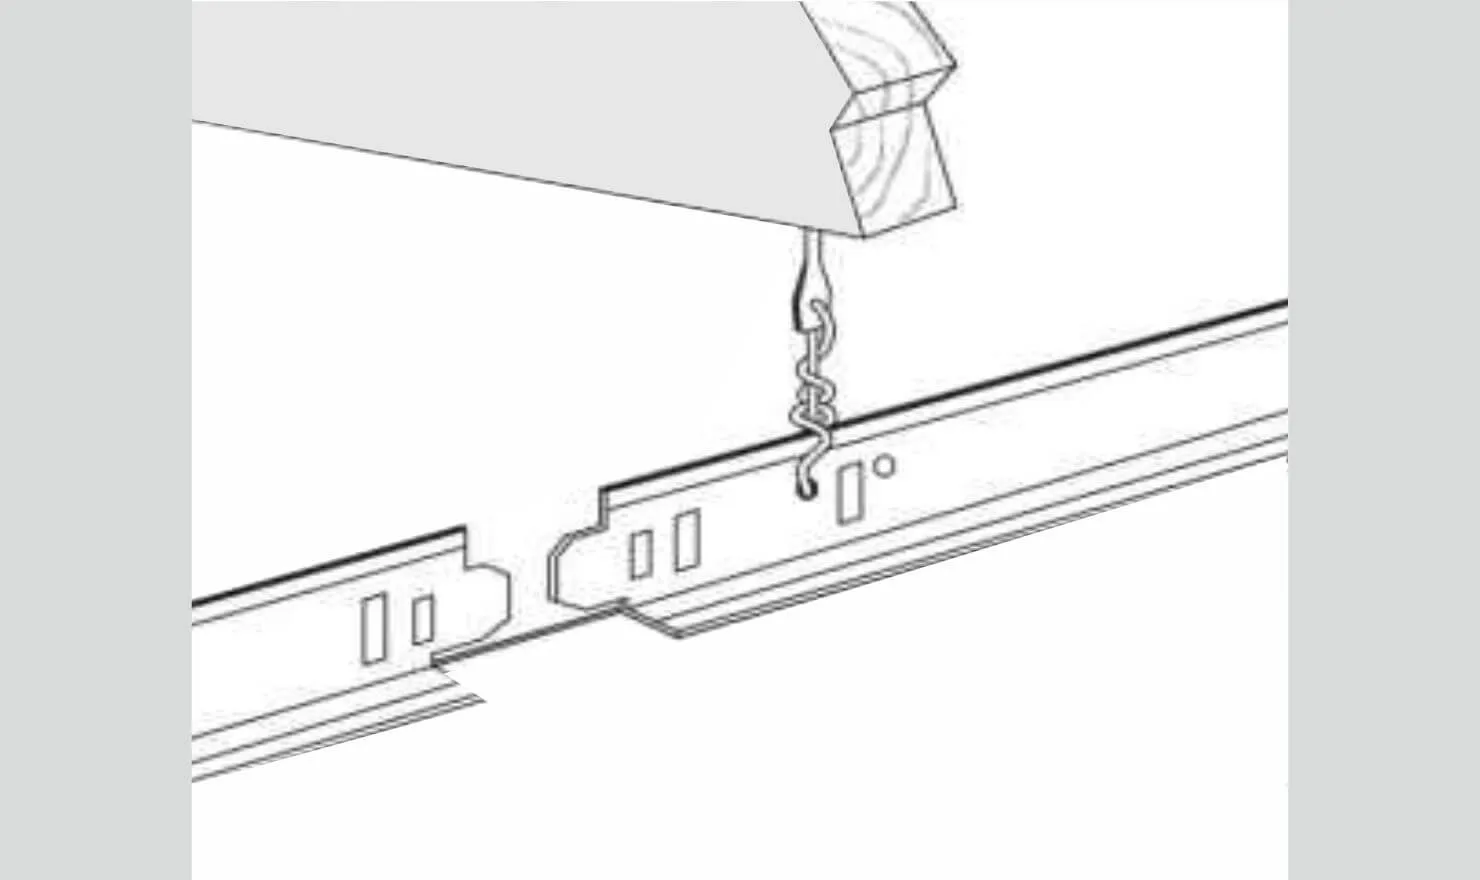
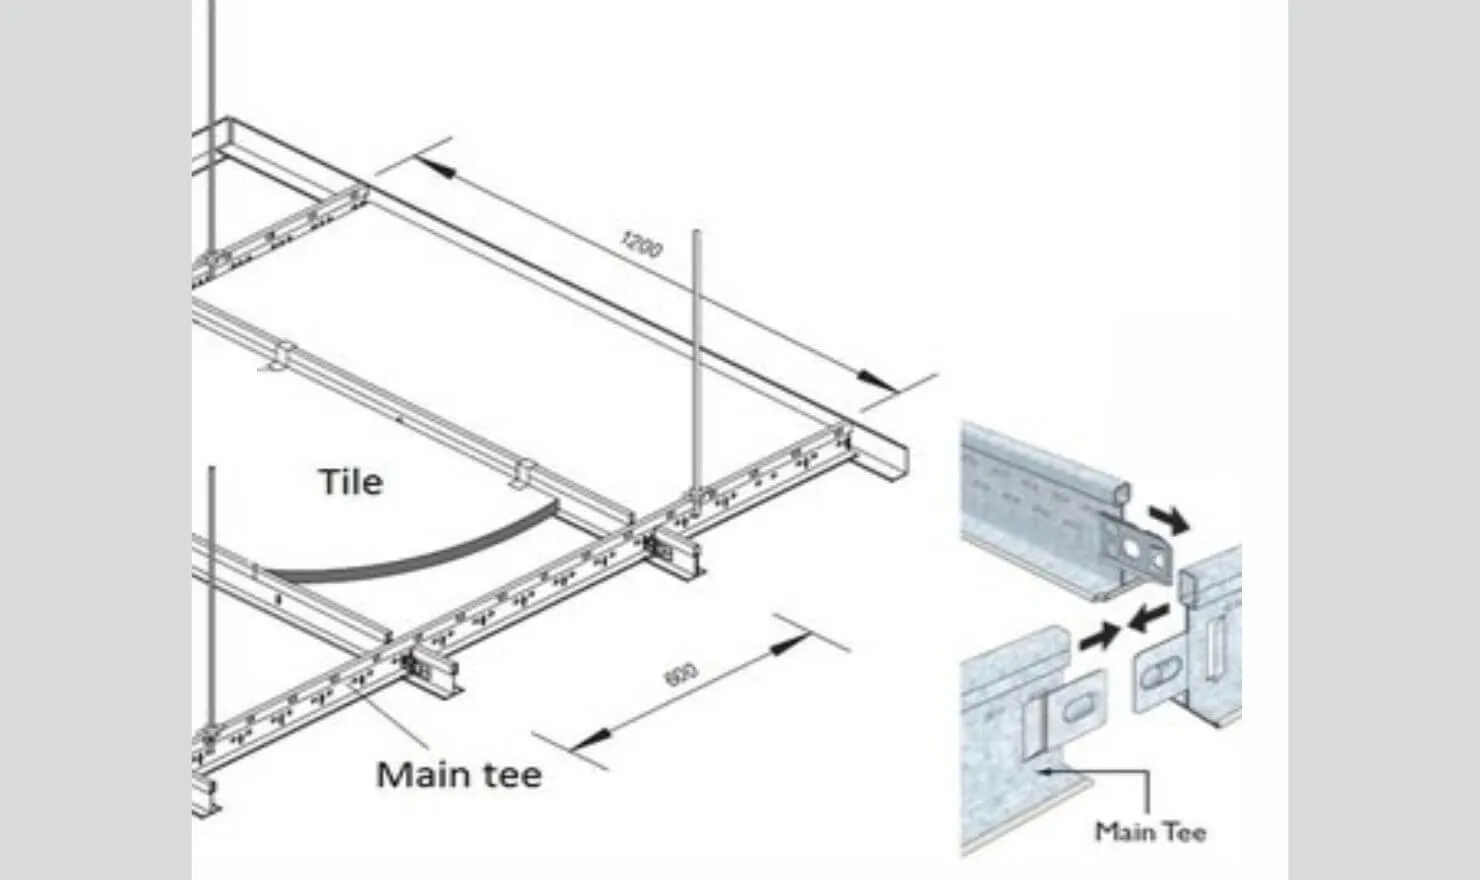
Install the main runners: Cut the metal Main Tee to fit the length of the room, and install them perpendicular to the wall angles at regular intervals. Use hanger wires to suspend the main runners from the true ceiling, ensuring they are level and evenly spaced.
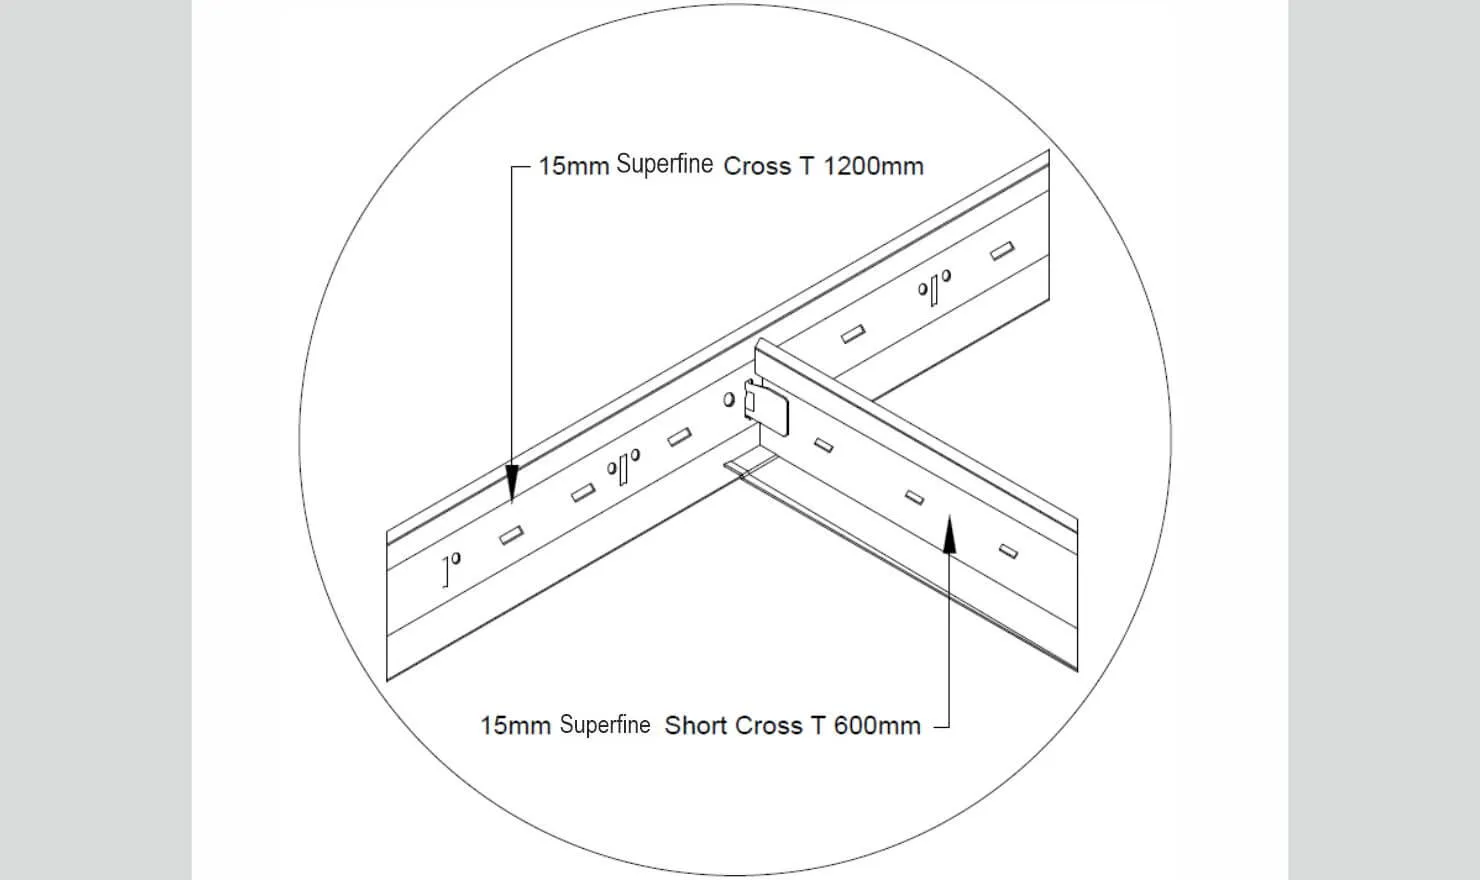
Install Cross Tees: Cut the Cross Tees to the desired length and insert them into the slots on the main runners, forming a grid pattern. Ensure the Cross Tees are securely locked into place.
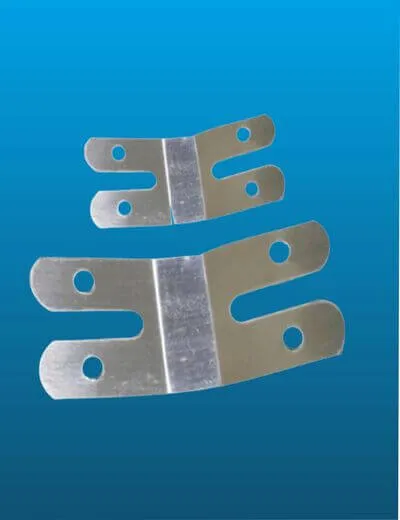
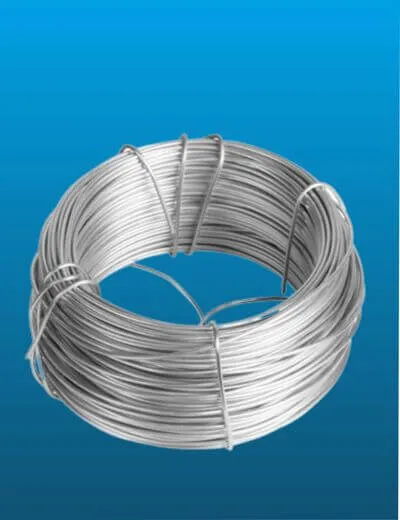
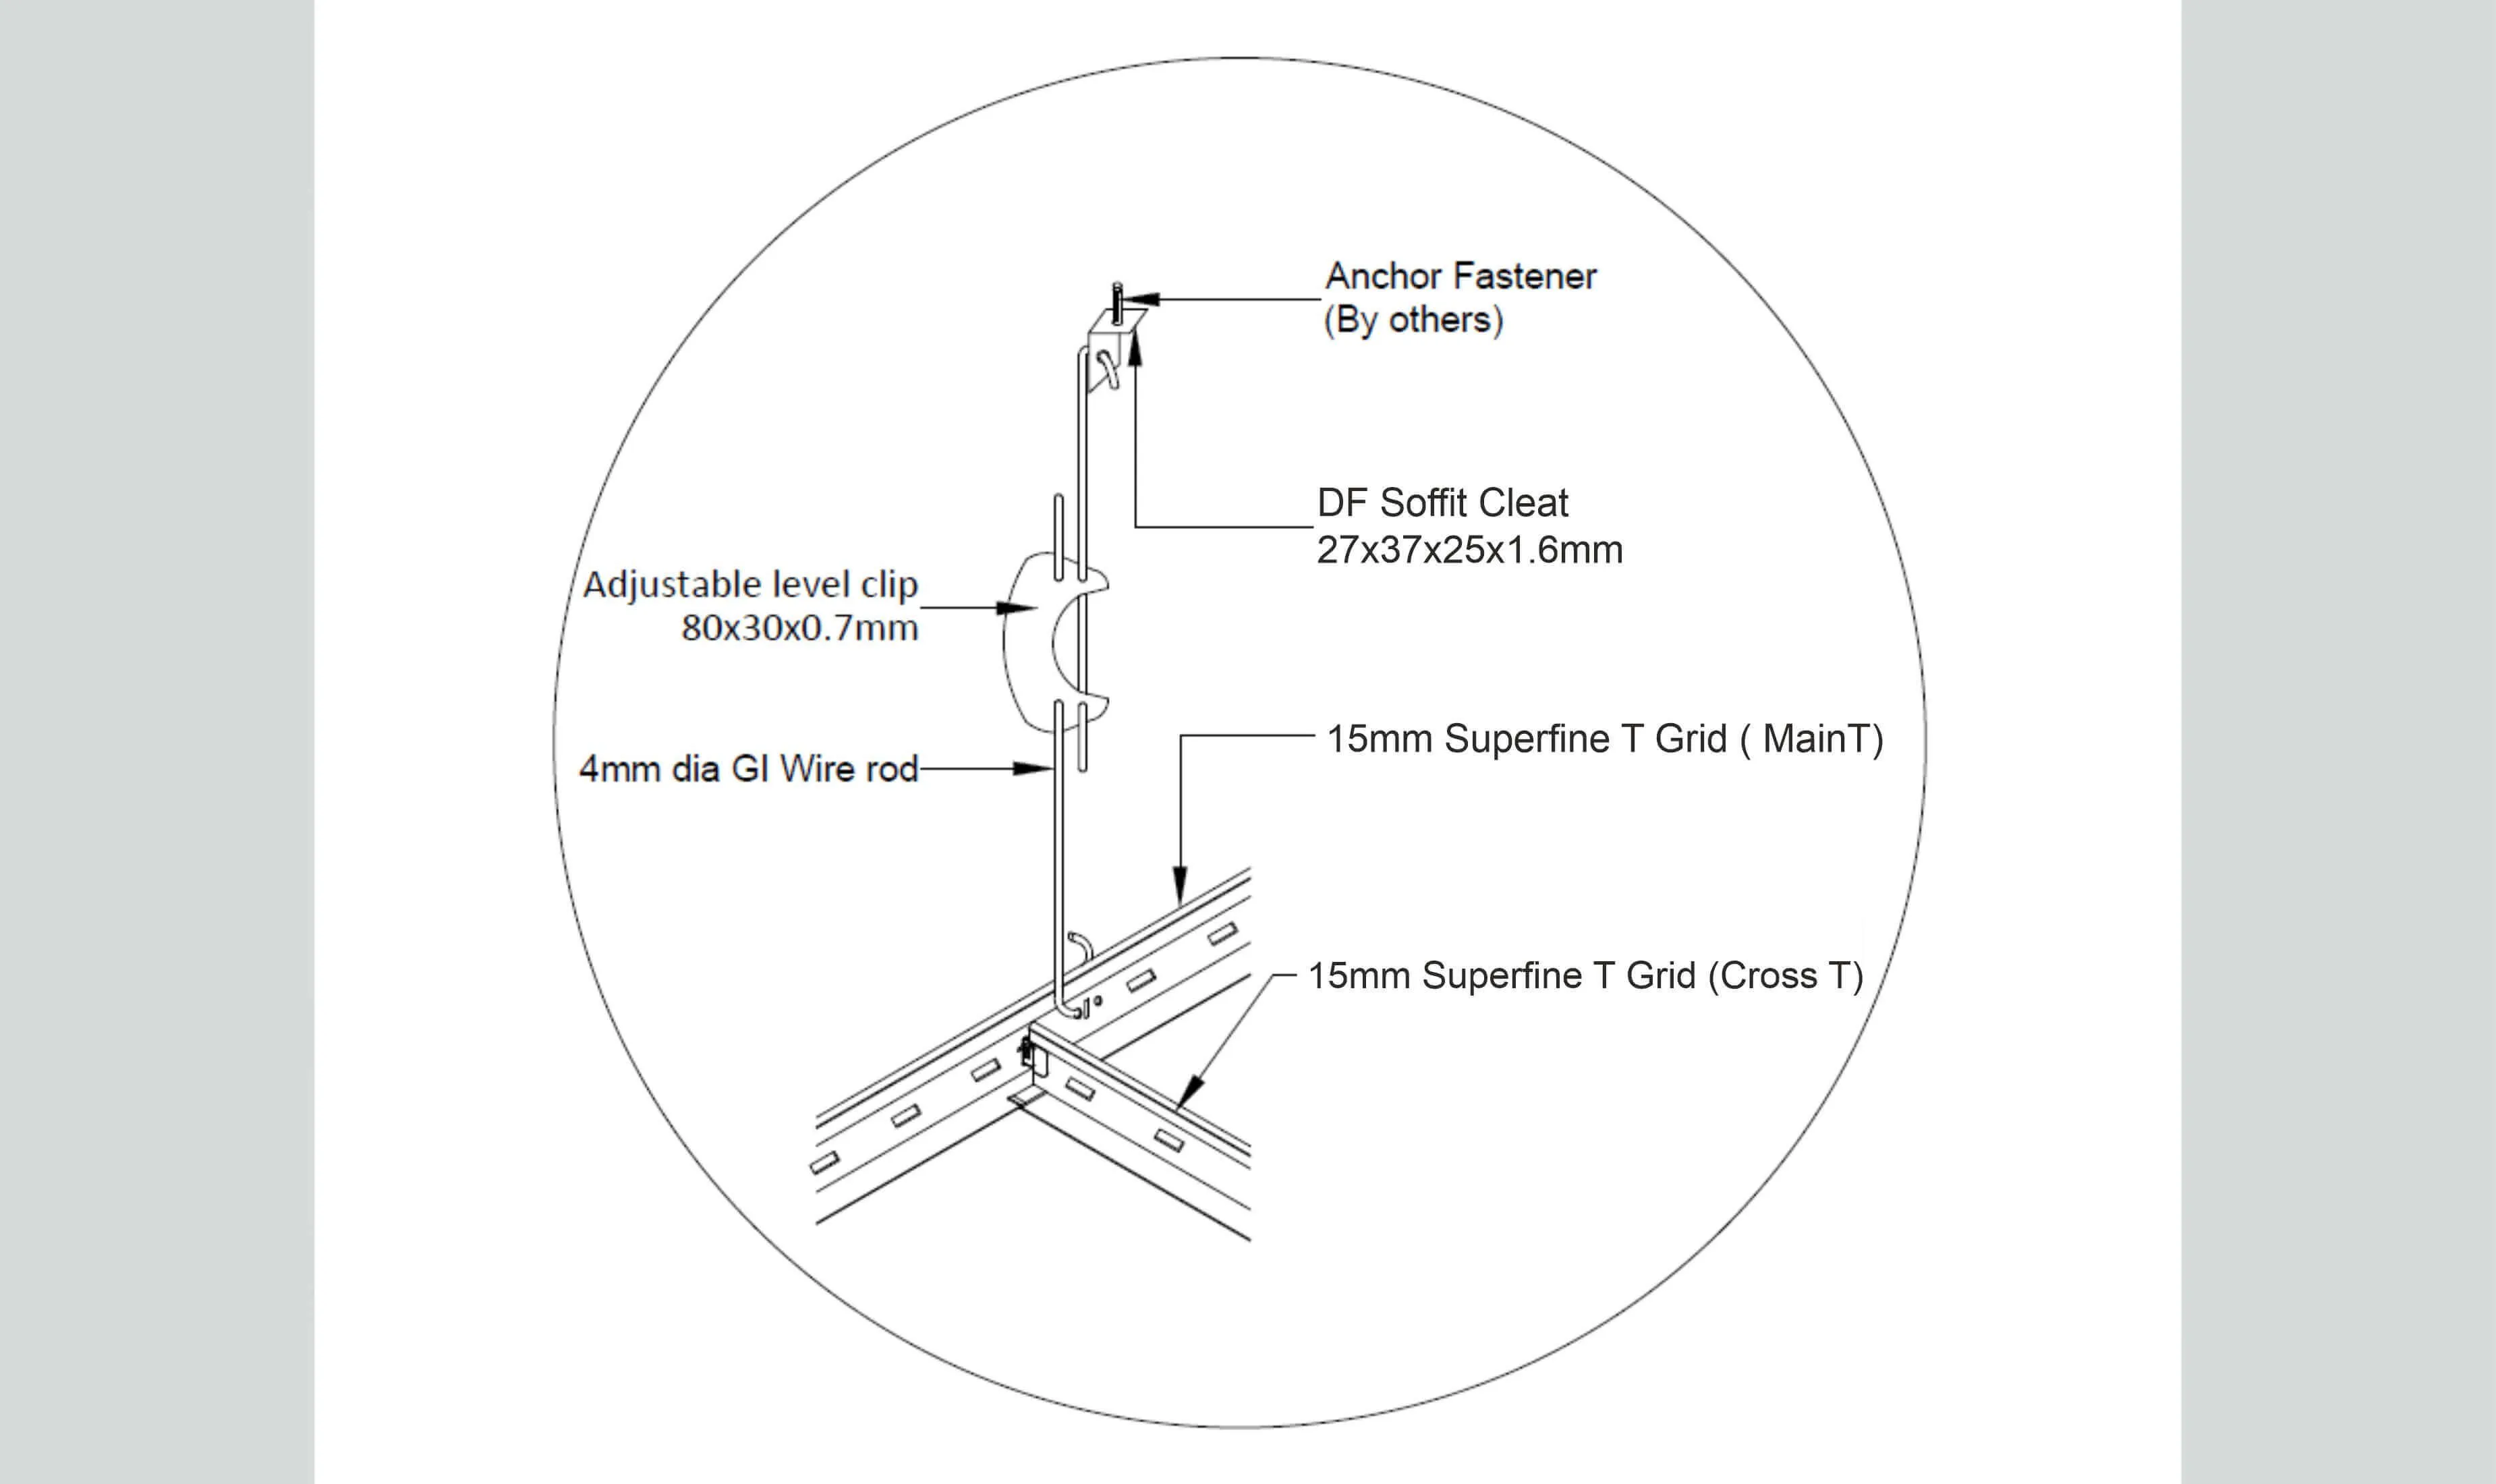
GI Wire Support: Providing 4mm diameter GI Wire with necessary length, A couple of GI Wire both ends make a hook by using a Plier, Butter Fly Clip using for adjusting height of Grid Ceiling level.
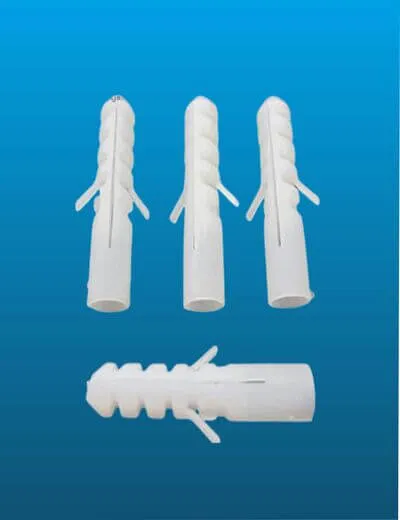
Support Fixing: At the true ceiling make a mark of Grid Fastener position, and make a drill at the true ceiling or RCC Slab by using Hammering Machine with the help of hammering bit. GI Wire with butterfly Clip supporting setup, interlocking with Grid Fastener GI Frame.
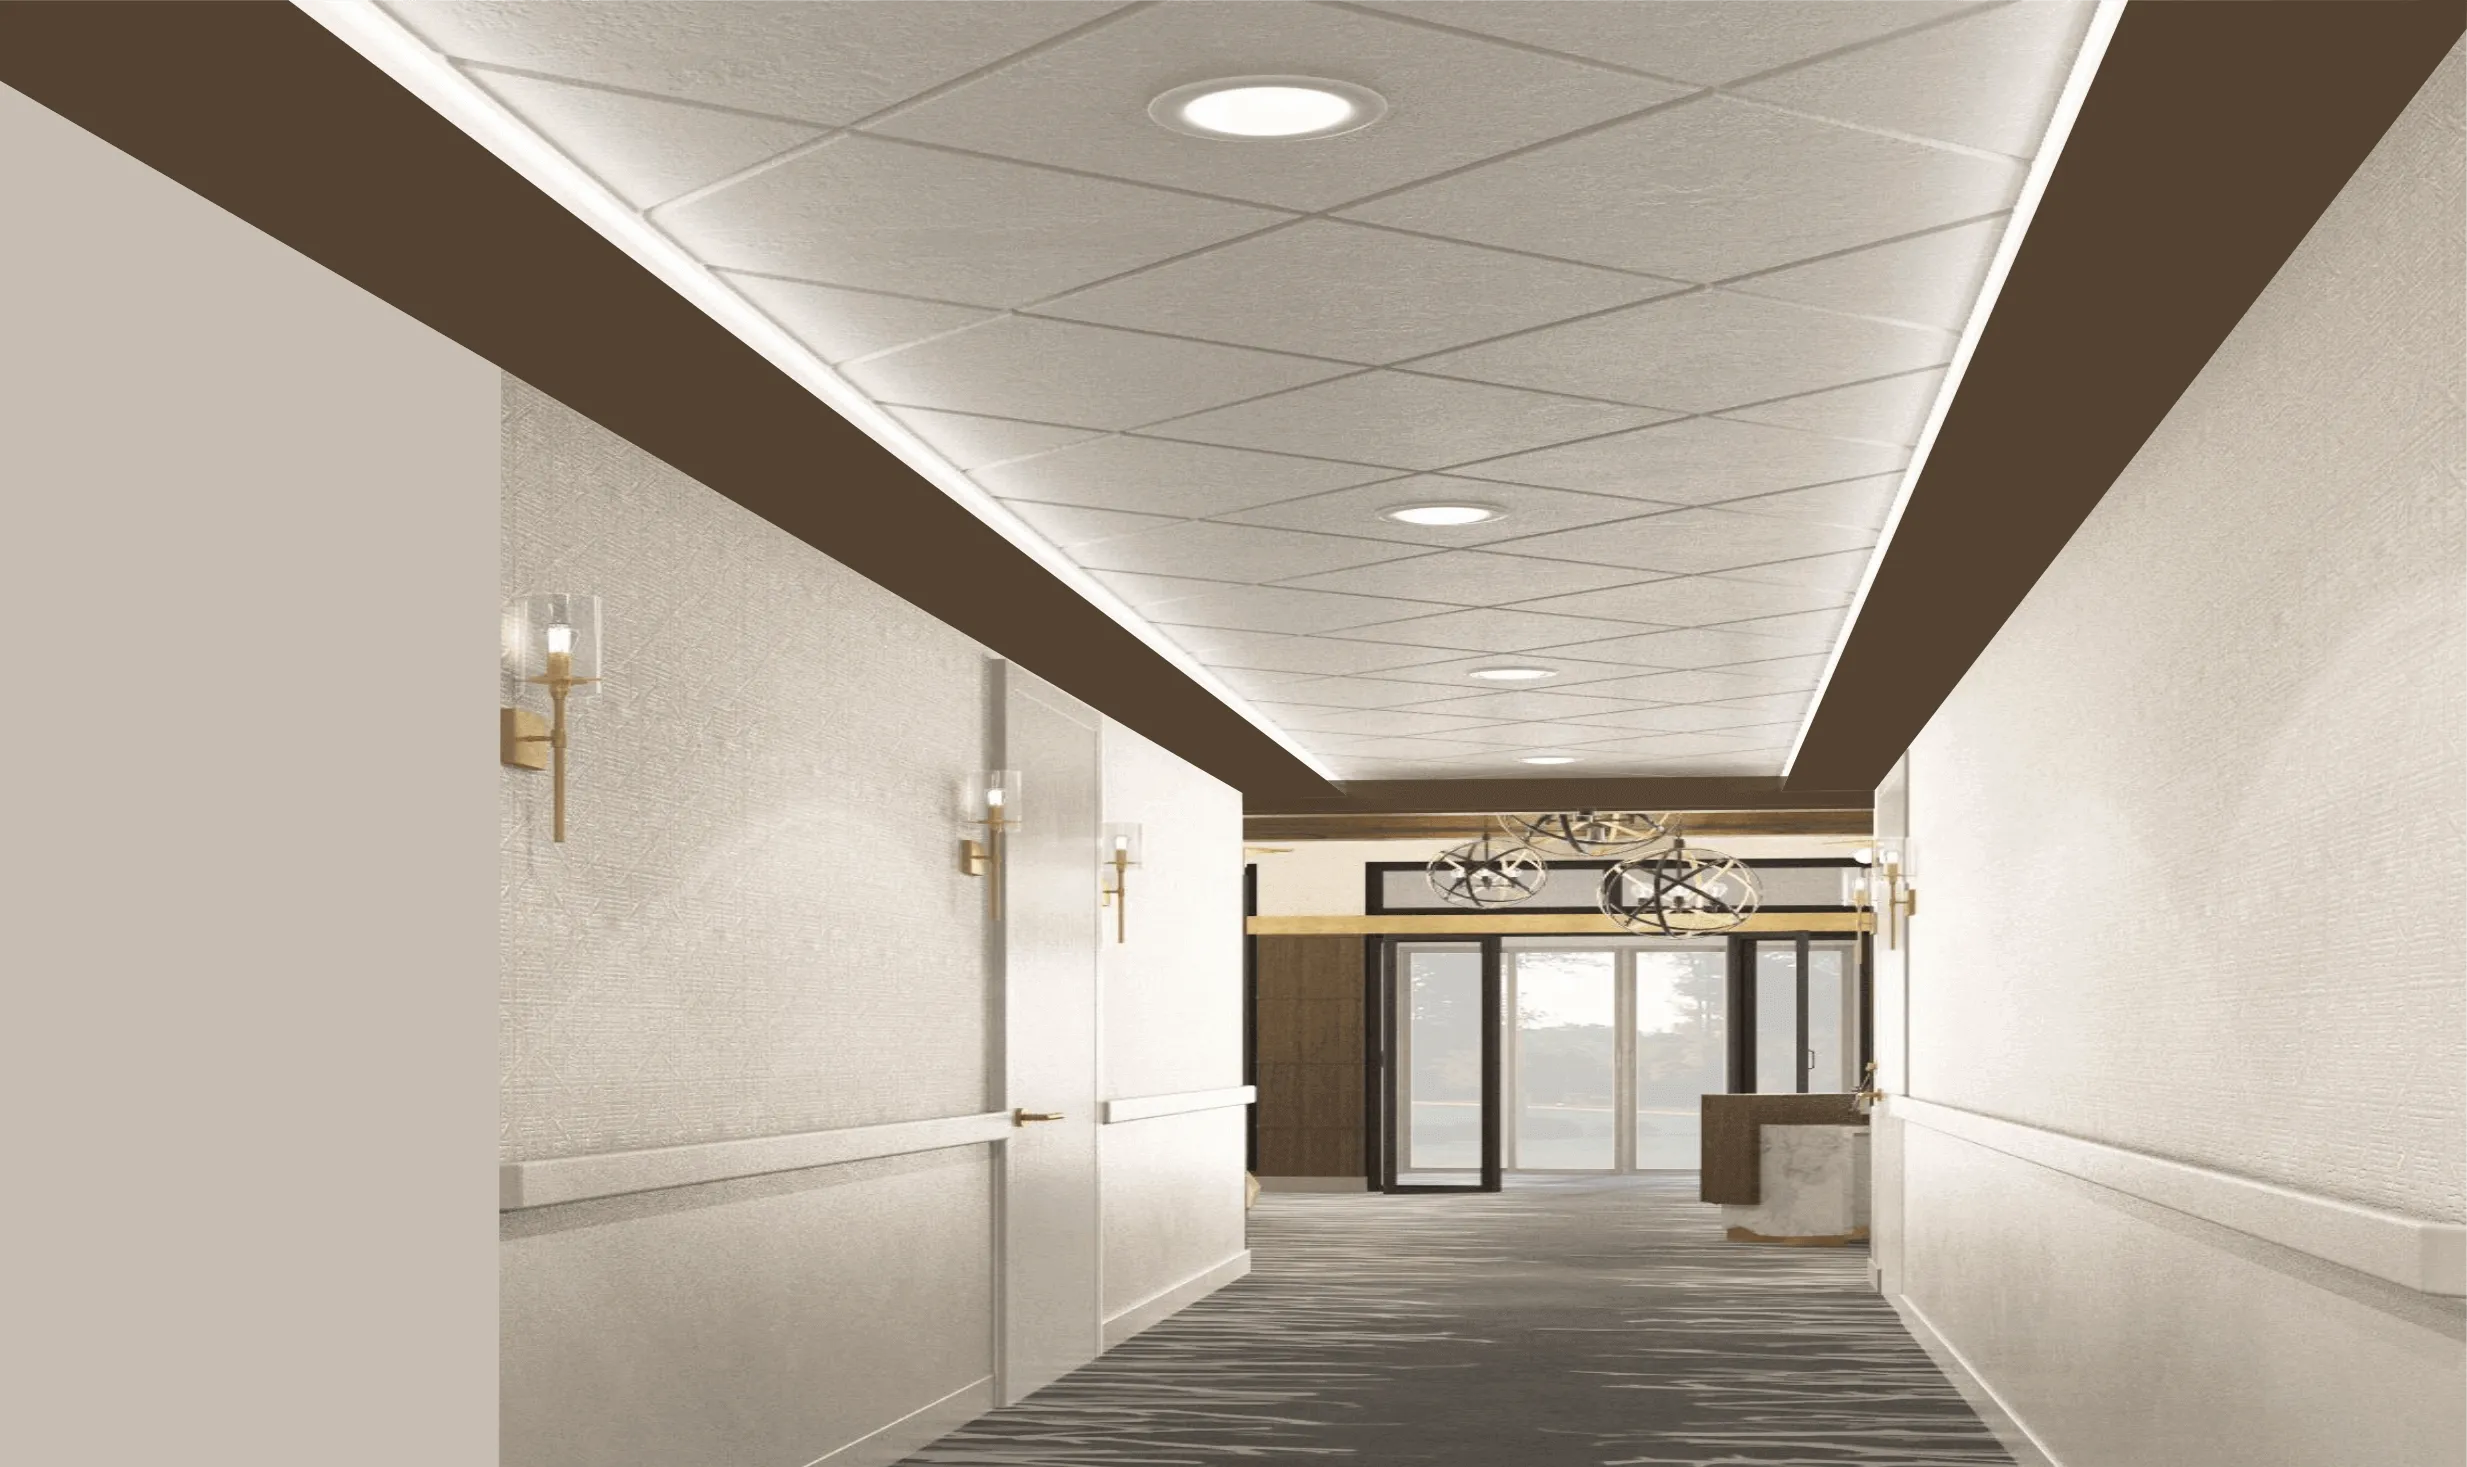
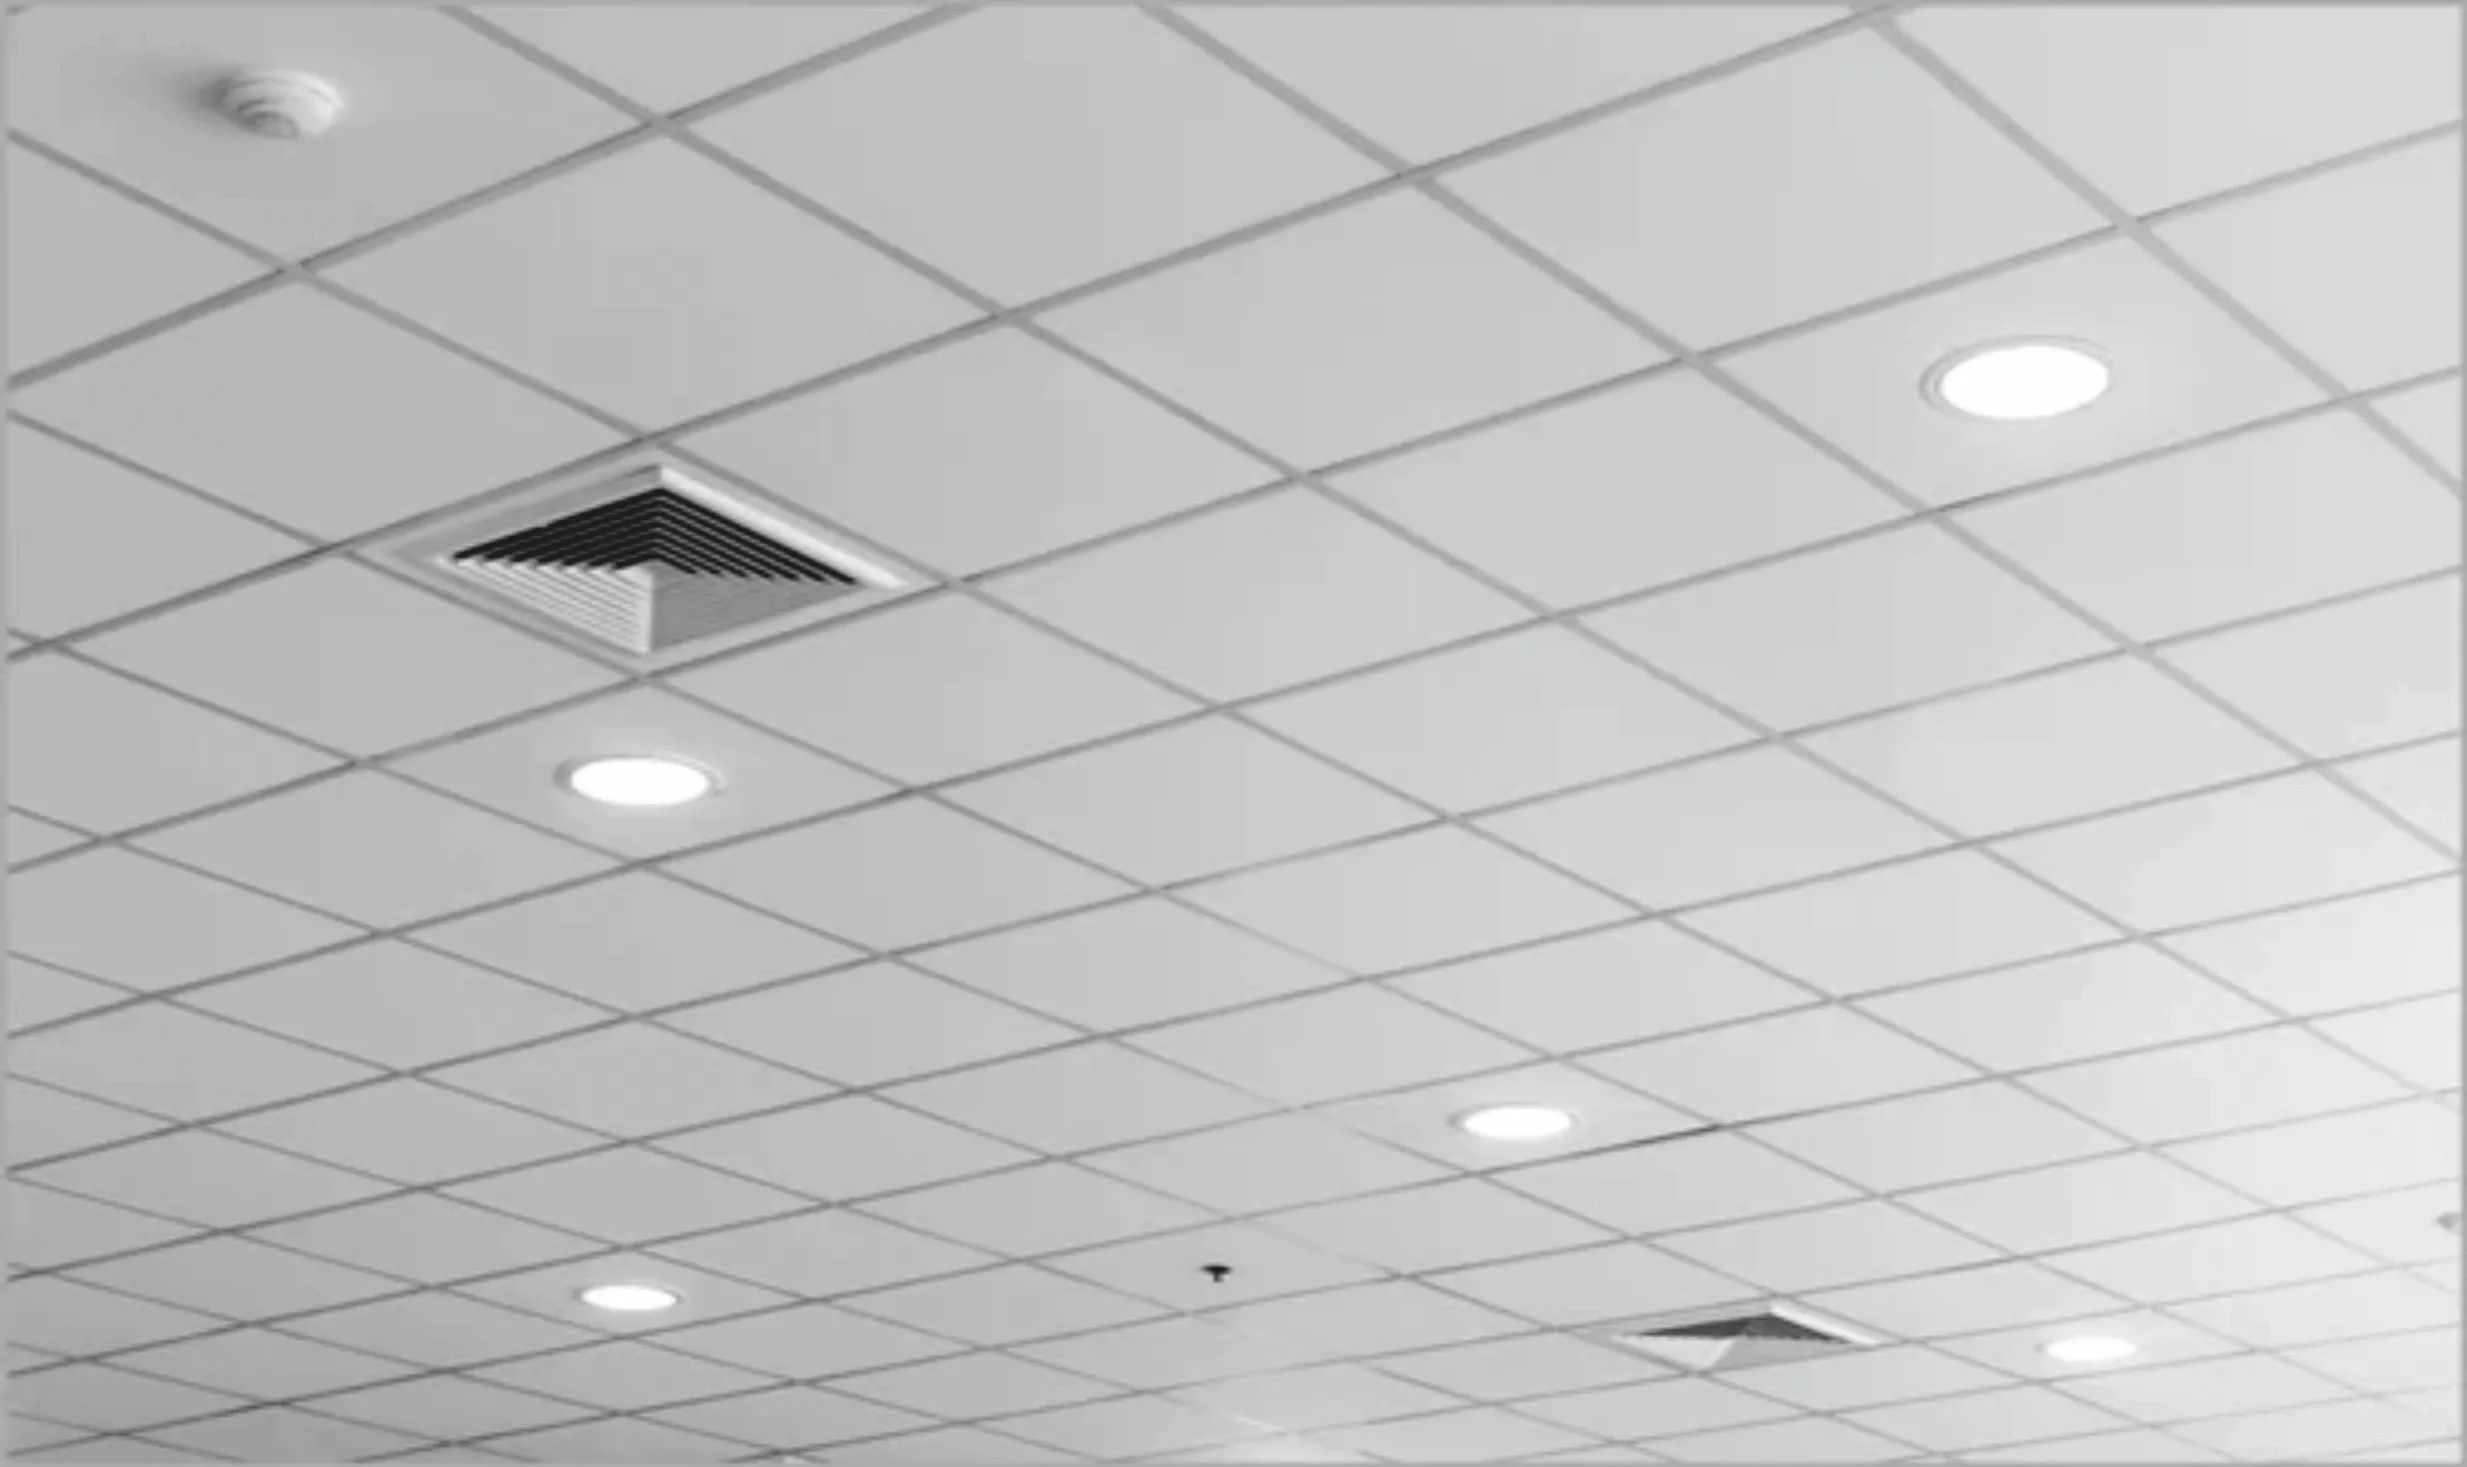
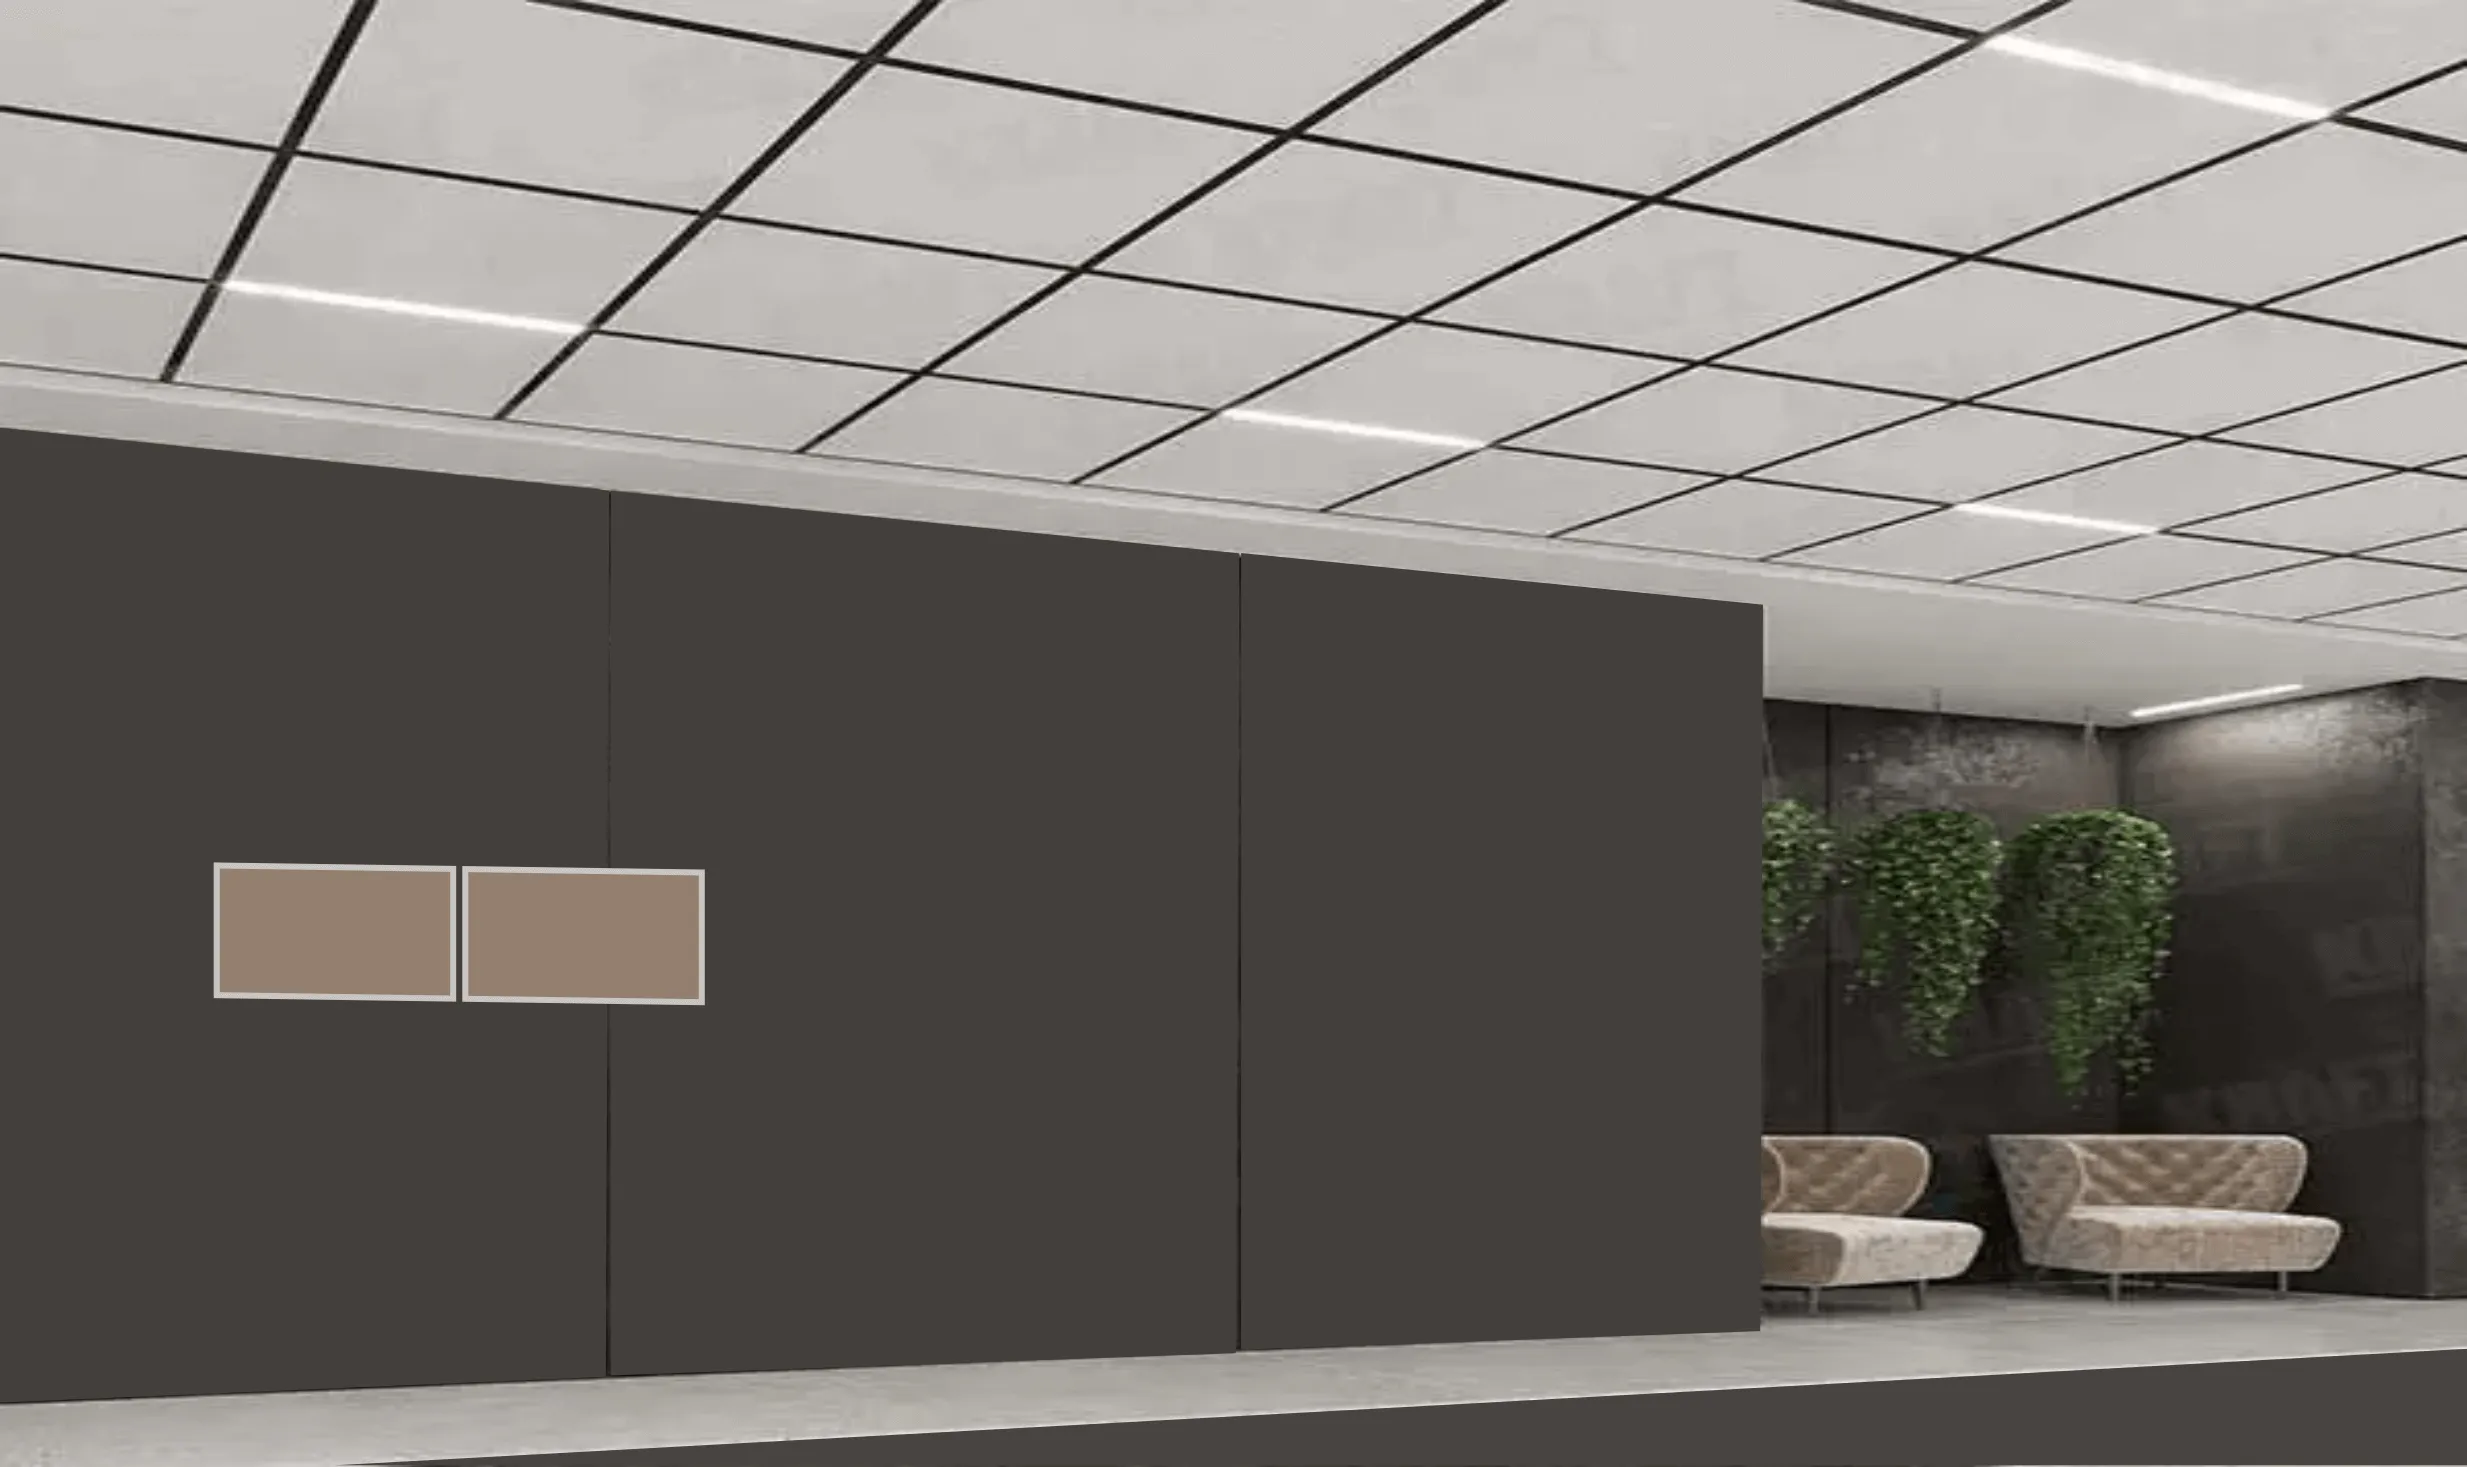
Install the Ceiling Tiles: Place the ceiling tiles into the grid openings, making sure they fit snugly. If needed, trim the tiles to fit using a utility knife. Adjusting & Leveling: Make sure Grid Framing should be in proper line and level.
Finish the installation: Install any additional accessories, such as lighting fixtures or air vents, according to the manufacturer's instructions. Make sure all the components are securely fastened.


